A Stunning Thrifted Mirror Make-Over

Today I would like to share with you one of my most treasured thrift finds - this beautiful oval-shaped wall mirror. I stumbled upon this beauty after perusing the aisles at a Goodwill location a few years ago. It grabbed my attention for 2 reasons:
1. It was white, and 2. I loved its shape. I figured I could use it in my daughter's bedroom so I quickly snagged it up.
A tag on the back revealed this mirror was custom designed at a company that manufactures furniture. In other words, I got it for a steal.


As proof of my great deal, check out the price on the back of the mirror.
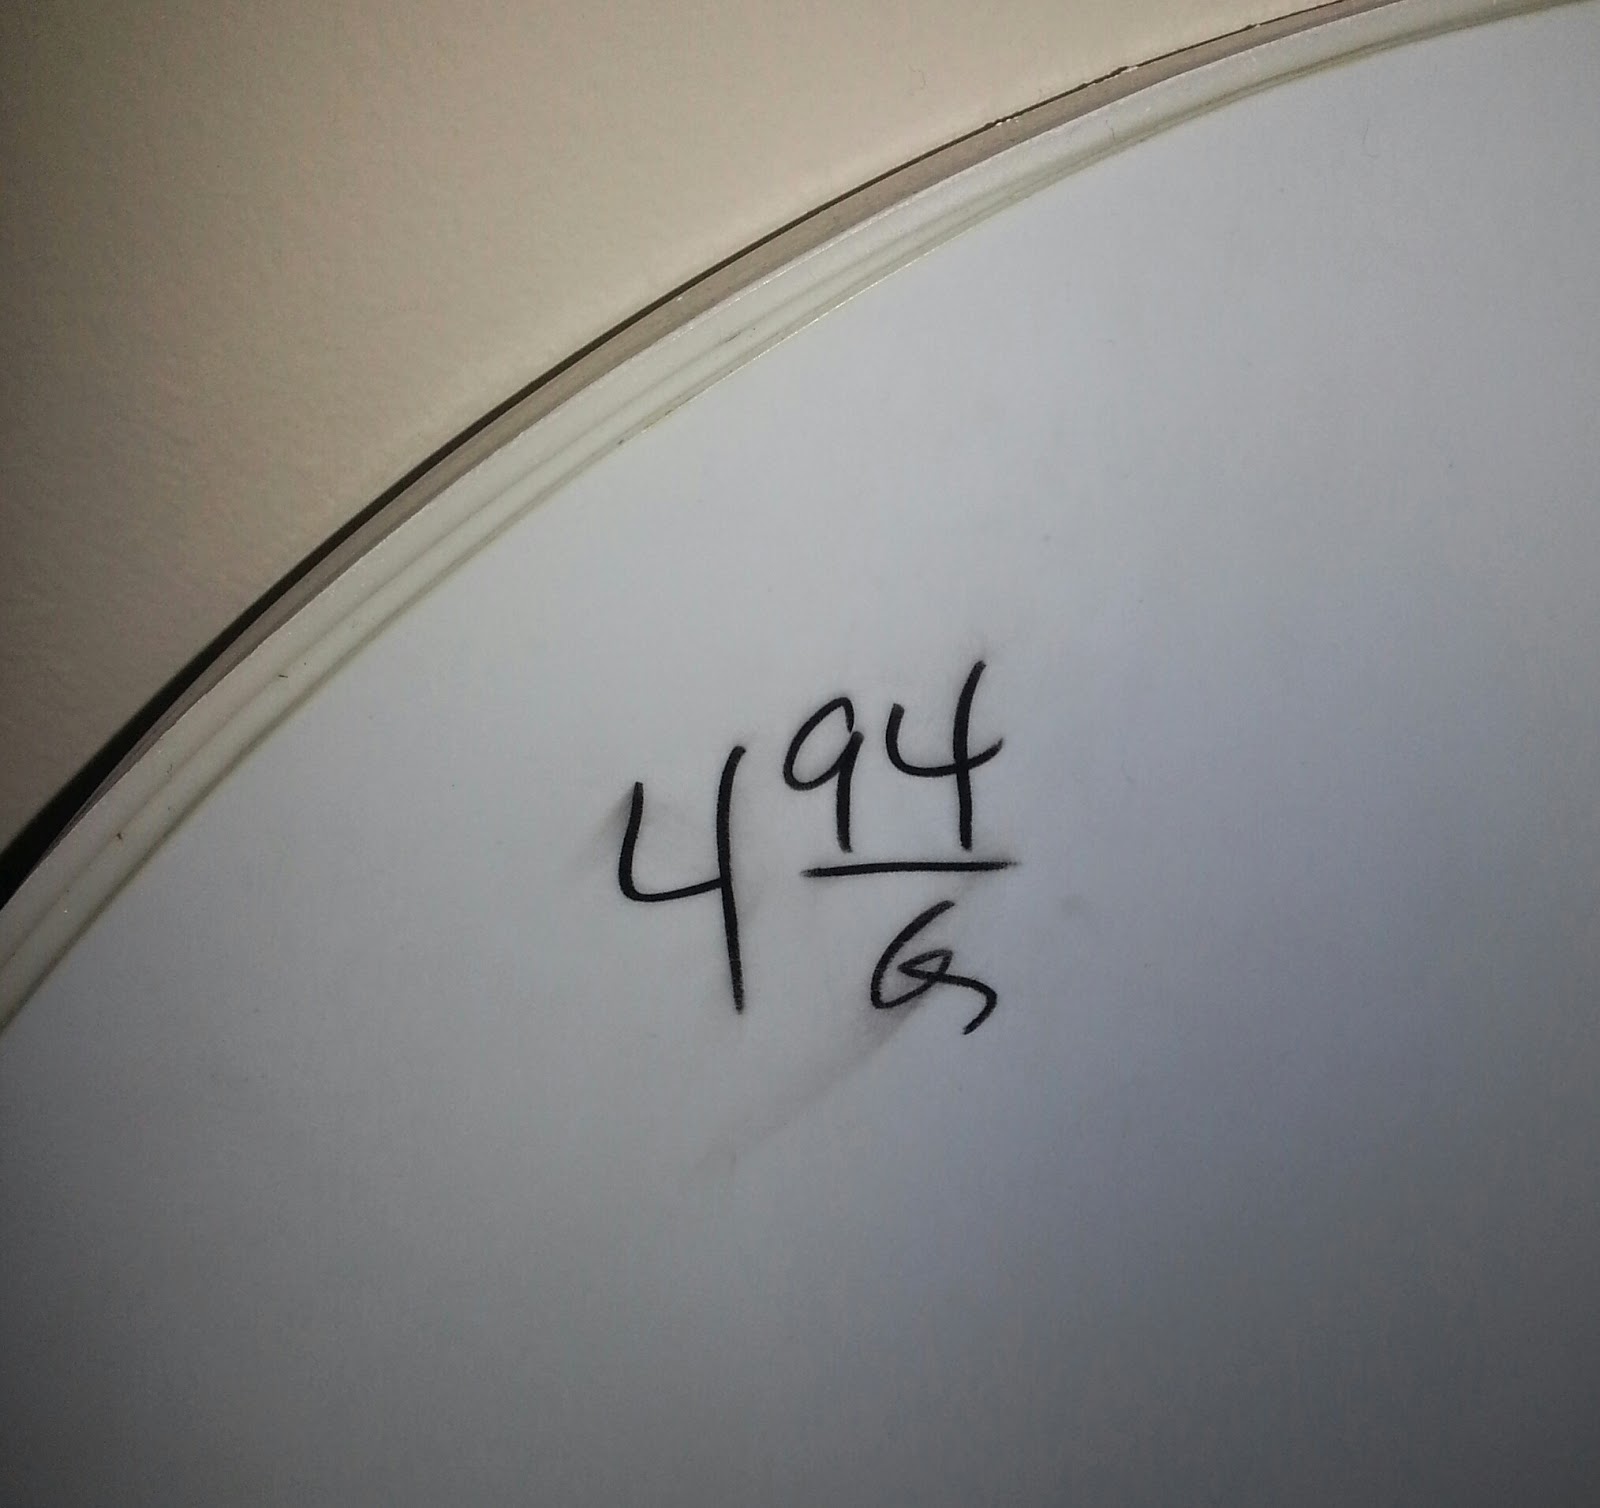

I first used it in my daughter's bedroom after which I decided to get her a bigger mirror and move this one to her and her brother's bathroom.


I proceeded to give it a lovely coat of Rust-Oleum American Accents Ultra Cover 2x in Satin Rustic Orange. 

A Touch of Metallic - How to Spray Paint Brass Knobs - ORC: Week 5

Week 5 has arrived and oh how quickly it came!
As of yesterday, this was the situation regarding the door knobs - Old, dated shiny brass. 


Fast-forward to today -I removed the knobs, hinges, and strike plates from the door and gave them quick coats of 


*Edited* - Note: Should you decide to take on this project, you need to pay close attention to how the plates are installed (or, you could just check the other doors in the house). This is important when putting the door back up.

Just lay out all the pieces on an impermeable surface to protect your paint area. In this case I used a huge piece of cardboard.

I inserted the screws into a piece of cardboard to get to paint the tips (Foam would have worked as well). I needed them to have the same color as the plates. I also used a light sander to scuff up the knobs to make the paint adhere to them.  

The spray paint was so easy to work with, and having a newly designed nozzle, made the job less tedious. After 3 full coats, they were ready. However, I thought it best to wait a few days for the paint to cure. Of course that's a personal preference.


The results yielded a very beautiful shade of bronze. I like it  A  LOT! It reads grey on screen but it is actually a metallic bronze. If you look closely you will see the tiny specks of metallic. Believe me when I say the result is amazing.


Here's a before and after so you can see the difference.


Untitled #14

There is not much to show for this week because I am saving it all for the grand reveal next Thursday. Please return to see the completed space all decked out :)

Thanks for stopping by and have an enjoyable weekend!
Go here to see more than 100 rooms in the making.


Mudroom Wallpaper - ORC: Week 4


It's week 4 and I am lagging behind - seemingly. I had a very interesting week which I won't get into but thankfully I had the wallpaper installed and I LOVE IT! Time and time again I read where bloggers keep revisiting a space after a makeover. This always makes me smile a little because it is a commonality we all share, right? However, my obsession began right after this wild wallpaper print went up. Mind you, the room is far from being complete, yet I stop every moment, just to stare...ha!


This was my first time working with wallpaper but it was so easy to put up. Removable wallpaper is the way to go if you need something quick and easy with no commitment. I worked my way from the top, down and used a credit card to smooth out the air bubbles. That paper "aint going nowhere." 

"And I know-oo I'm never letting this go-ooo
I'm stuck on you
Whutooo whutooo
Stuck like glue" - Sugarland


On a side note, the shelf I ordered for the space was so low, we needed to bend our heads to sit. Remember this is an under-the-stair space so the sloped ceiling came down quite a bit. I came up with a new idea which will have me eliminating the bins. 

Check out these art I bought a while back from Kirkland's. They go so well with the wallpaper. I am having a change of heart, and the clock's a ticking.
SOURCE
 
SOURCE
Well, thanks for stopping by to check on my progress. With only two weeks left; yes, two weeks, I need to have wall hooks installed and art hung. That's all for now. 

Click on each link to see how I got to this point.

 Week 1  
 Week 2  
 Week 3  
 Week 4 (you are here). 

To see what everyone else is up to, go here. Have a very enjoyable weekend and please return next week for an update.

Mudroom Necessities: ORC- Week 3

Am I dreaming, seriously, are we really in week three? I am truly amazed by how fast the days creep up on us. I remained totally oblivious so much so that I nearly missed our day of posting. I had to remind myself of what day it was to ensure I had it correct. Anyhow, progress is guaranteed. Even though I did not get much done, I was happy when the set for the mudroom arrived. Thankfully, my spouse put it together so I could have something to show today 😊.

The pieces are exquisite! Well, to me they are...lol. The top is a shelf and coat rack in one. There is also room for hangers on the metal rod. 


The bench fits perfectly in the space and provides storage for shoes underneath. I "hope" to make a seat cushion for it...wish me luck. 


For some reason, I feel nervous about putting up the wallpaper. I guess I am afraid I might ruin it. Well, fear or no fear, sooner or later I will need to do it, so, "wallpaper, here I come!" :). 

As usual thanks for stopping by, and have an enjoyable weekend! Don't forget to check out what my fellow participants are up to this week as well. 


Mudroom Progress - ORC: Week 2

Hello everyone! Welcome to week 2 of the One Room Challenge, where 20 designers and more than 200 linking participants redesign and decorate a space in just 6 short weeks. I am currently working on my mudroom, and as a reminder here is my design plan for the space. You can check out Week 1 here.


Over the weekend I proceeded to rip out the carpet, remove the wire shelf, and install flooring .


I also painted the unsloped section of the ceiling. I intend to cover the other part with wallpaper. It appears a bit sloppy right now but I assure you it will be neatly finished in the end 🙂.


Next up will be this stunning wallpaper that I am itching to see in place. I am totally in love with this print. On a side note, my son owns the set of Paw Patrol toys and my favorite in the group is, (you guessed it!) Marshall, the dalmatian. Moms seemingly cannot resist becoming trapped in the toy frenzy these days.


Despite how quickly each day passes, I cannot complain because I am blessed to be part of it. If I patiently stay afloat, and remain intentional, I will get to the finish line. Thanks for stopping by.
 I wish for you a very Happy and fulfilling Easter Weekend!
Kindly head over to Calling It Home  and check out all other projects linked to this Challenge.

Mudroom Makeover: ORC - Week 1

Hi folks! I am back again for yet another One Room Challenge. This time I plan on redoing my 'so-called' mudroom - a tiny space under the stairs where we toss our everyday shoes, hats, scarves etc. Unfortunately, it lacks total functionality where our needs are concerned. The space opens to the kitchen, and because it has no seating accommodation, everyone uses the dining chairs when putting on their shoes. We occasionally hang coats on hangers which creates added challenge, particularly when trying to promote independence among the little ones. Despite my disgruntlement, I am thankful for one thing; current day innovation! - which brings to the world, hooks, hooks, and more hooks.

My plan includes: 

  • Addition of seating - Bench
  • Hooks/Shelf
  • Wallpaper
  • Painting - Ceiling (Black)
  • Art - To brighten the space 
  • Transparent Bins - For accessories: Sunglasses, Sunblock lotion etc.
  • Flooring


Mudroom Design Plan


As you can see, it is an extremely tiny space, but no worries, I have BIG plans to spruce it up.


Well, that's it for now. Please follow along as I attempt to make over this room. Thanks for stopping by...hope to see you again next week! 

Now hurry over to Linda's Blog and check to see what everyone else is up to.

Holly Jolly Tablescape

The Christmas season came and went, leaving us to revel in the final moments of holiday bliss. Meals enjoyed at the dinner table were created to set the ambience for warm and enjoyable festive gatherings. This tablescape was no different, as it reflects the feeling I get when the season is in full bloom. 

I used holiday tableware, colorful, and whimsical napkins, to create a fun-looking table setting. my whole family would enjoy. 

These felt placemats are my kids' favorite. They also love the dinner plates which are made of melamine, and therefore, considered kid-friendly. The plates were sold individually and I happily got to choose one of each...just because :).

"Oh Christmas tree! Oh Christmas tree! Much pleasure thou canst give me"

Meet little St Nick!


The table runner is just four placemats laid out closely together.


The reindeer appear so majestic in this photo.


And there you have it...a Holly Jolly Tablescape. 

Thanks for stopping by and have a safe and Happy New Year!


Fun and Festive Holiday Kids' Table


Christmas is without a doubt the most wonderful time of the year. 
"With the kids jingle belling
And everyone telling you "Be of good cheer"
It's the most wonderful time of the year..."


To help kids celebrate the season, I put together a pretty little tablescape where they will feel comfortable hanging out, away from the hustle and bustle at the adult table. This is a place where they can relax, be themselves, and best of all, have lots of yummy treats. Sugary treats aren't a constant in my home, but I allow my kids to indulge on occasions.