Enjoy, and share this beautiful Mother's Day with a special lady in your life; someone who have inspired you in some way, to become a better individual.
Today, I want to share with you one of my latest projects, done for my 6 year old daughter. During a recent bedroom makeover, she requested that I put butterflies in her room. I thought of adding pin/clip boards, and after searching online, stumbled upon these. They are Shaped Ribbon Boards from Pottery Barn, considered a bit pricey for me.
I opted to work on a DIY ribbon board.
Items Used
Foam Board
Scissors
Spray Adhesive
Glue gun/sticks
Fabric
Ric rac trim
Polyester fiberfill
I found a simple bird shape in my daughter's school supplies that I liked. First, I made a template for cutting out the shape on the foam board. I then spread some polyester fiberfill all over the shape, and attached it using spray adhesive.
Note: If you attempt to make this, the spray adhesive dries really fast, so it's best to lay the fiberfill on the shape first, then attach a little at a time.

Next, I used the template to cut out the fabric.
I left a 1 1/2 inch border to attach to the back of the shape.

Finally, I carefully wrapped the fabric over the shape and hot-glued it to the back of the foam board, while tugging firmly. When I was through, I lined up the ric rac on the diagonal, and hot-glued it to the back, to form the desired pattern. You can cover the back with felt, or leave it as-is because it will not be visible.
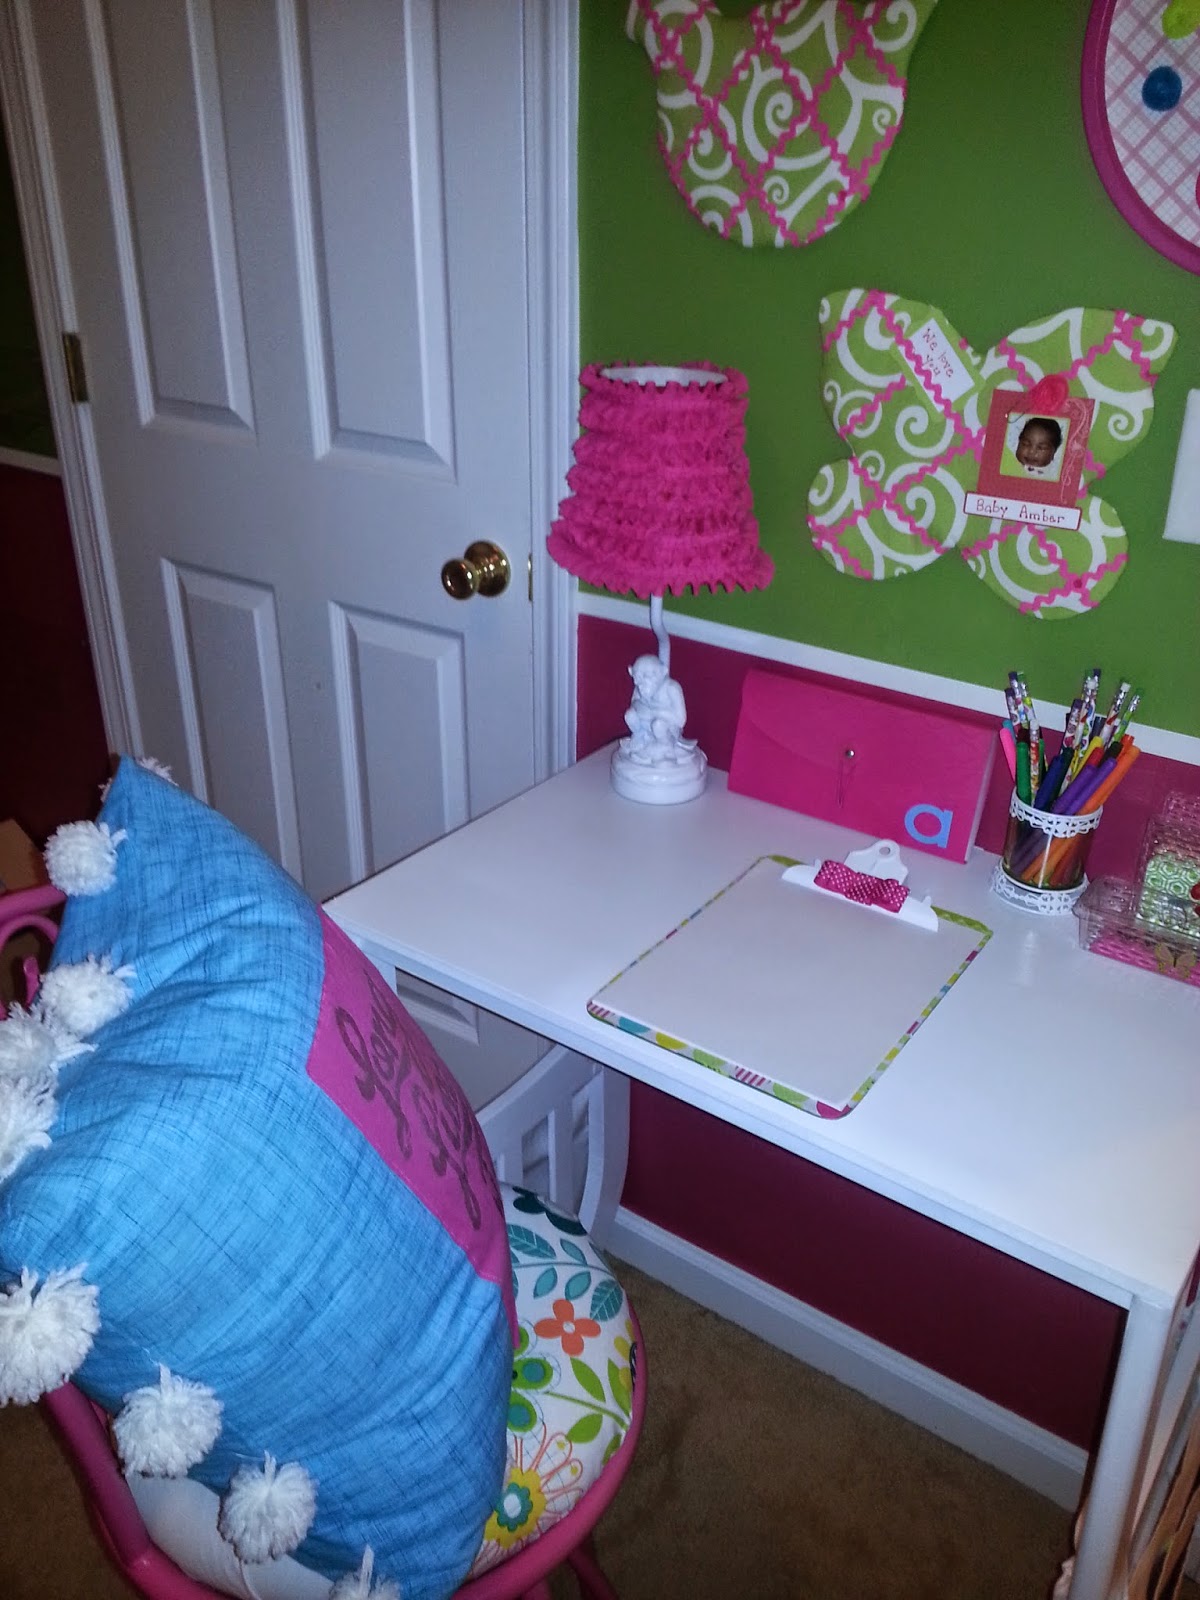
Here's the finished product.

I also made a Butterfly shaped board
They are both hung on my daughter's bedroom wall.

.jpg)
She really loves them.
I hope you were inspired. Thanks so much for stopping by!


No comments